Updraft: Automating WordPress backups
Make regular backups from our site must be a priority for us. These backups allow us to restore the site if you suffer a hosting incidence with data loss, accidentally delete files or your site gets hacked.
In this guide we will explain how to do automate backups using Updraft. We will config this plugin to make backups and save them into Google Drive (if you don’t have a Google account you can create it from here), anyway the plugin offer options to save the copies on other platforms such as Dropbox, Microsoft OneDrive, Amazon S3, etc.
Is important save the backups on an external place, because if your website is broken or gets hacked our local backups may be already deleted or infected, making it useless to recover the website.
It’s also important because saving these backups may require a lot of space and limits our ways to grow up the site or forces us to buy a higher plan when this is not needed.
After this explanation, we start the configuration.
Step 1. Plugin installation & activation
As we told above, this time we will use the free version of Updraft.
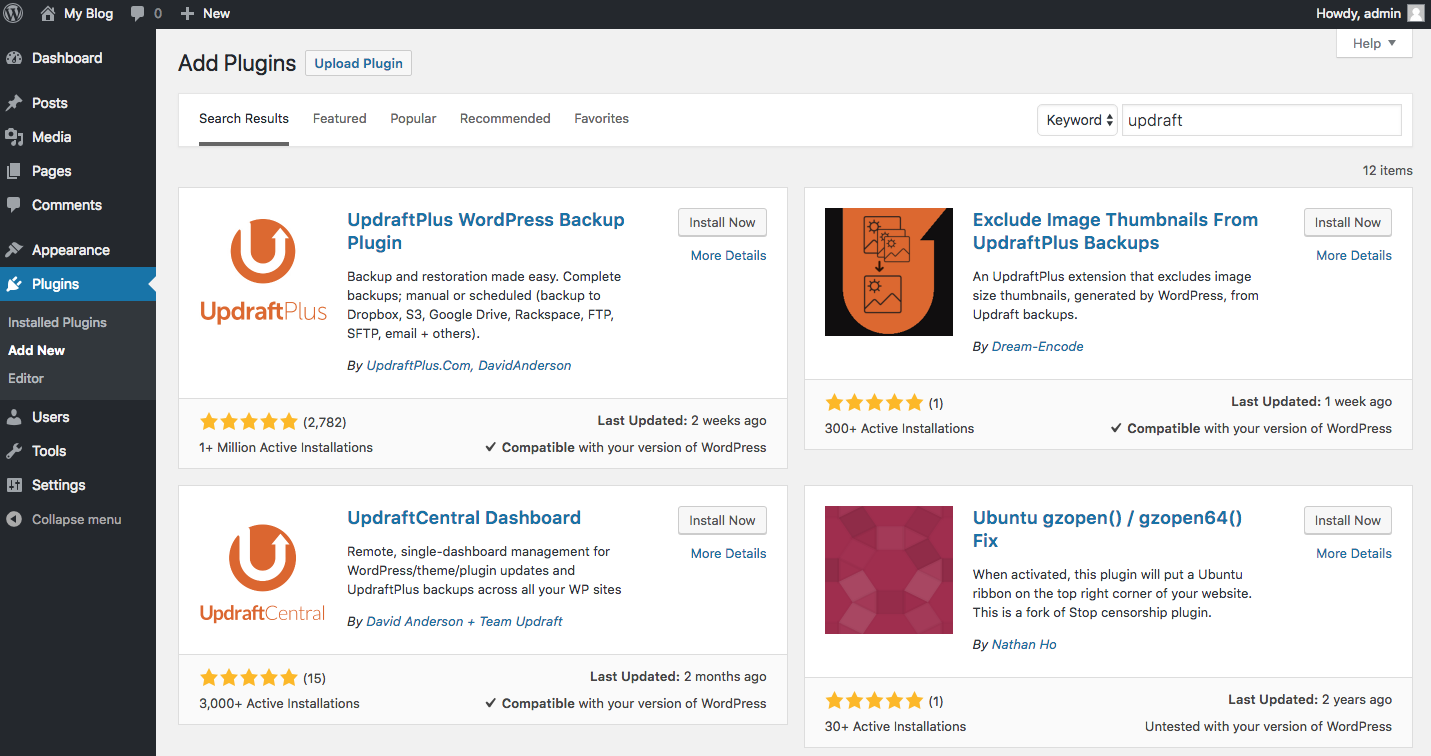
To install the plugin we access the Wordpress admin area and enter to Plugins > Add new, search Updraft and then click the Install now button on the UpdraftPlus WordPress Backup Plugin" plugin.
After the installation the “Install now” button will change to Activate. Click on it to activate the plugin and start the configuration.
Step 2. Plugin configuration
Now, with the plugin installed and active we can start the configuration. On our Wordpress Settings options will appear UpdraftPlus Backups. Enter and go to the Settings tab.
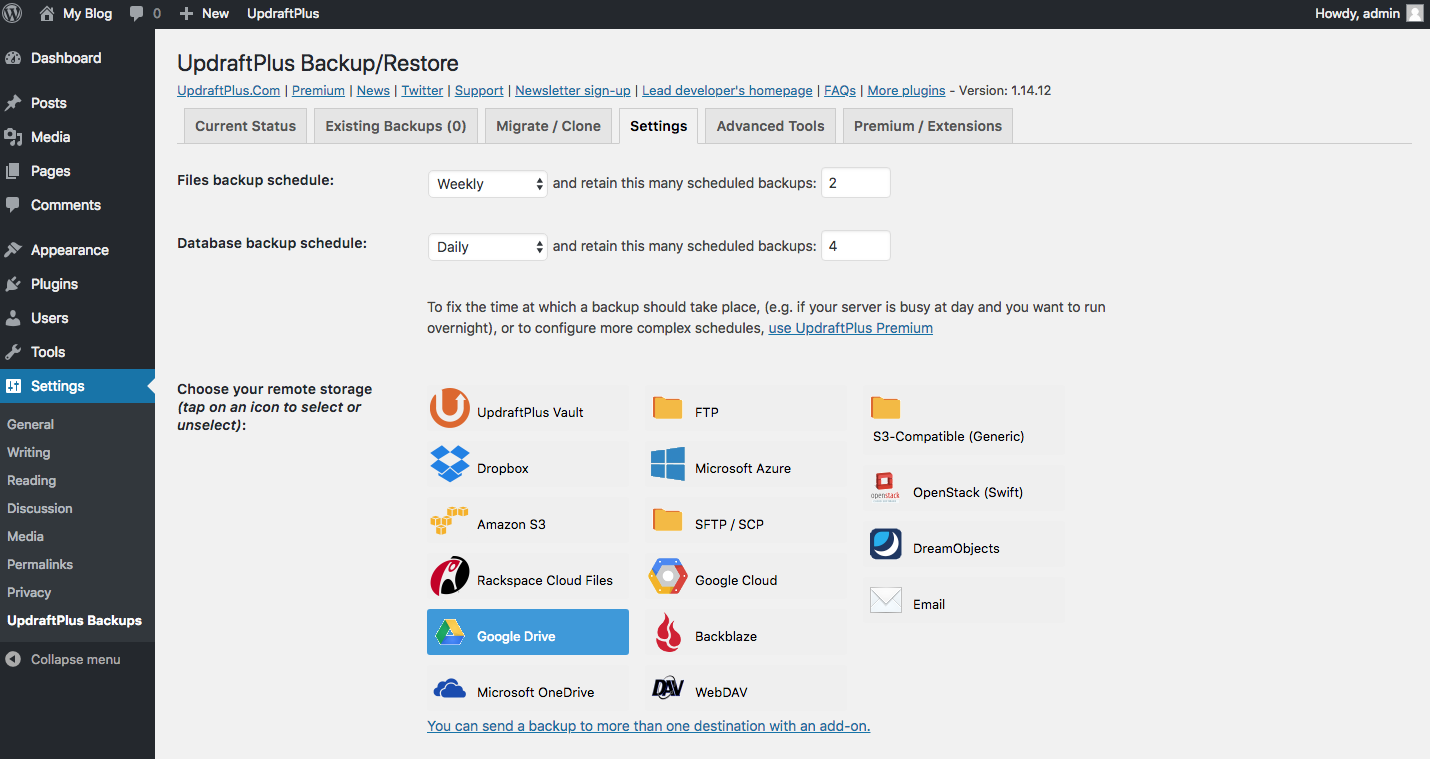
1. The first option we have is Files backup schedule. That option allow us to define the backup frequency and the number of copies we want save. We will choose weekly and save 2 copies.
With these options the plugin will do a weekly files backup and will save two backups simultaneously. Automatically will rewrite the oldest backup.
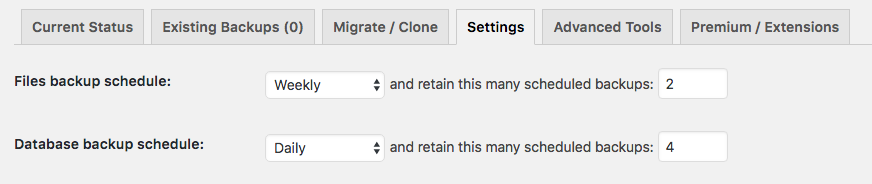
2. The second step defines the same options for the database backups. As the information saved into databases is updated more frequently and it’s more important, we will choose daily and save 4 copies.
3. As we told before, we want save the backups into Google Drive so we will choose that option at Choose your remote storage.
We will see a link for login into Google but we will do that later.
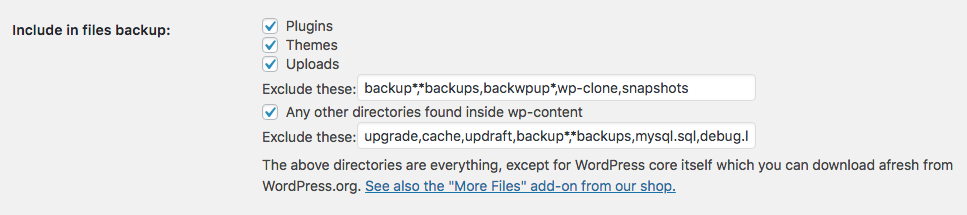
4. Now we're at Include in files backup, here we won’t do any change and let the default parameters. If you want add some files or folders to the exclusion list you can add them at the end of the box.
5. Last step. In order to do this we have to open the Expert settings clicking the Show expert settings link. Now we have to search the Delete local backup option and check it, after that we can go to the end and click Save Changes.

Step 3. Link Updraft & Google Drive
After click the Save changes button will appear a screen request link both apps.
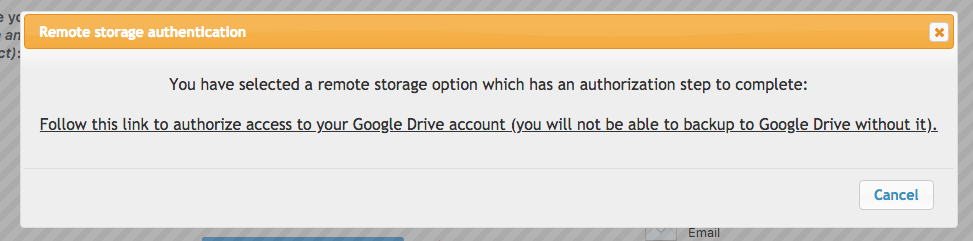
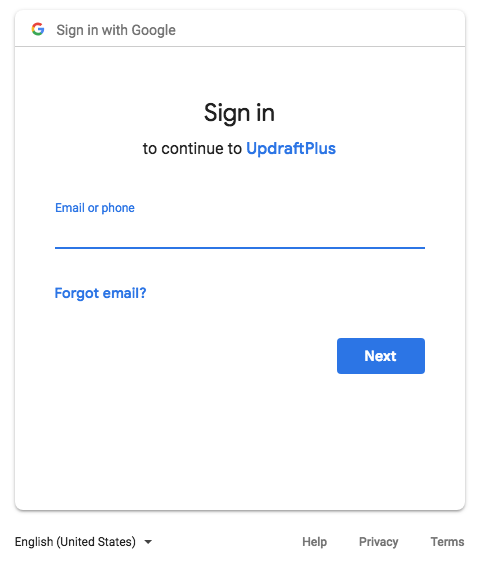
Click the link and the Google login will appear, insert your login details and click Allow.
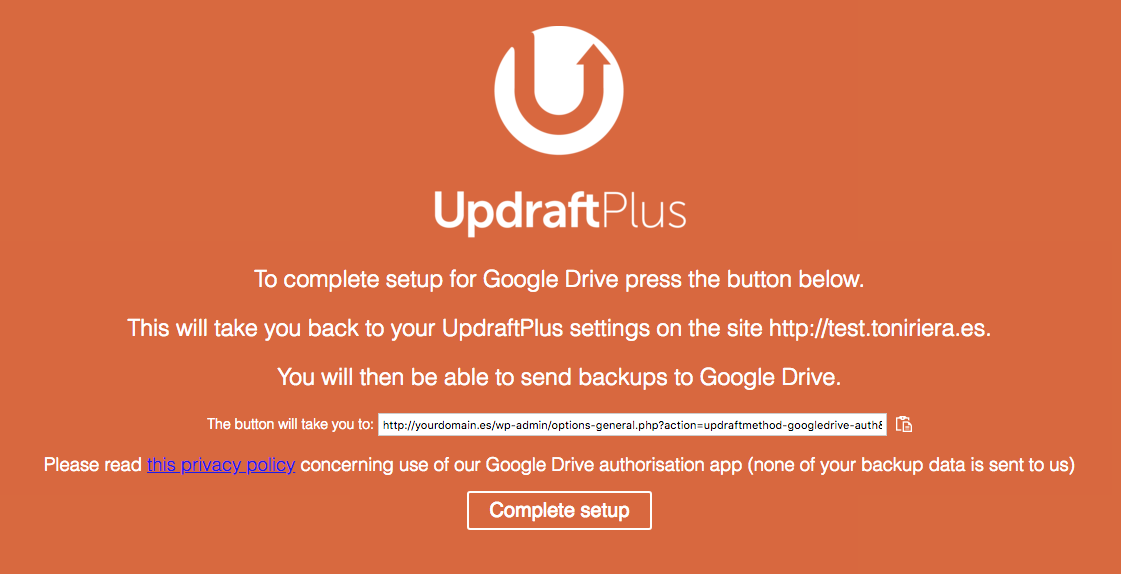
Finally we will see this page and will be able to finish the configuration clicking Complete setup.
By following these steps we have correctly configured Updraft to automate our Wordpress backups and save the copies on Google Drive.
